Editor-friendly image transformation and optimised delivery with Cloudinary and Decap CMS
How and why to empower editors with a simple interface to upload and transform images
Website editors who are not skilled in web technologies need a simple and intuitive way of handling their media in the CMS. They need to be able to upload, adjust, and remove assets. At the same time, they should not be able to harm performance with bad transformations. As a safeguard, developers need to control the quality and size of the images that are delivered to the site. In this post, we will explore how to set up a CMS that will allow editors to upload images and apply transformations, while you will be able to control the quality and size of the images that are delivered.
To achieve this, we will use Decap CMS, a git-based CMS that is easy to set up and configure. We will also use Cloudinary, a digital asset management solution that will allow us to upload images and apply transformations to them. We will use Hugo, a static site generator, to build the site.
Hugo - Static Site Generator
We need a frontmatter-based site generator and something to serve the CMS locally. We could also use Gatsby, Next.js, or any other site generator. I like Hugo because it’s extremely fast and it makes the most out of vanilla HTML, JS & CSS. That way, there is no need for a JS framework.
If you don’t have it yet, you need to install Hugo. Then start with a blank Hugo site:
hugo new site site-name
cd site-name
Add Decap CMS
When choosing a CMS for a website with a lot of media, it is important to consider the media library and what you want from it. For more complex sites, I recommend using a dedicated media library, such as Cloudinary, which is what we will use here. However, for simple sites, the default media library that comes with Decap CMS is sufficient.
Decap CMS is the most popular open-source git-based CMS. It has the Cloudinary media library widget integrated, and it’s really easy to set up. Find more details at Add Decap CMS to your site.
All we have to do to install Decap is add 2 files to our Hugo project. See the Site Generator Overview for details on other SSGs.
Add index.html and config.yml to the static/admin folder:
static/admin
 ├ index.html
 └ config.yml
index.html is the page that will serve the CMS React app.
<!doctype html><html><head><meta charset="utf-8" /><meta name="viewport" content="width=device-width, initial-scale=1.0" /><meta name="robots" content="noindex" /><title>Content Manager</title></head><body><!-- Include the script that builds the page and powers Decap CMS -->
  <script src="https://unpkg.com/decap-cms@^3.0.0/dist/decap-cms.js"></script></body></html>
config.yml is the configuration file for Decap CMS. We will use the git-gateway backend, which allows you to add editors to your site CMS without giving them direct write access to your GitHub or GitLab repository. We will also use the local_backend option, which will allow us to run the CMS locally.
local_backend: true # enables us to run cms locally
backend:
  name: git-gateway
  branch: master # Branch to update (optional; defaults to master)
Decap Media Libraries
Decap has a default media library that works with media in the repository. However, git is not a very good place to store media, so I recommend using a digital asset manager, such as Cloudinary. Decap’s Cloudinary integration allows us to access our Cloudinary cloud from image widgets in the CMS and easily retrieve asset URLs in various forms. This is what we will use here.
Enable Cloudinary
We just have to add these lines to the config.yml file:
media_library:
  name: cloudinary
  config:
    cloud_name: your_cloud_name
    api_key: your_api_key
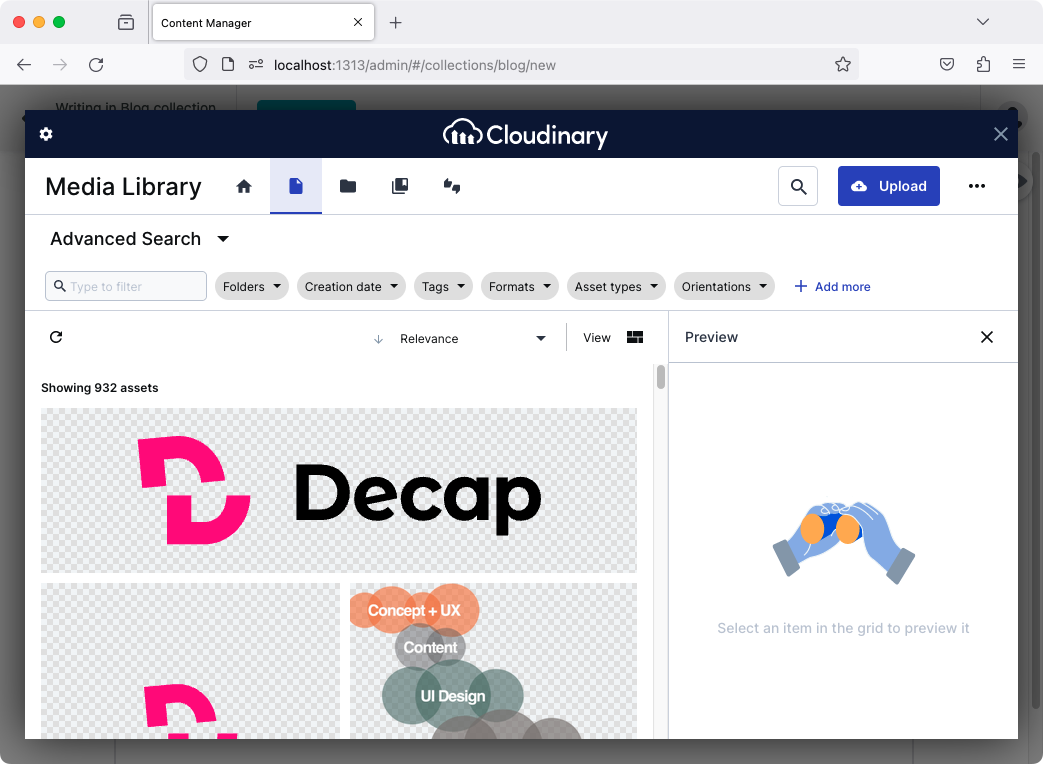
With this configured, the image widget opens Cloudinary media library widget.
Decap Collections
Collections are the way to define content types in Decap CMS. We will define a blog folder collection for this example. Here we configure the CMS to save markdown files to the content/blog folder, which can then be rendered by the site generator as blog posts.
config.yml
collections:
  - name: blog # Used in routes, e.g., /admin/collections/blog
    label: Blog # Used in the UI
		label_singular: post
    folder: content/blog # The path to the folder where the documents are stored
    create: true # Allow users to create new documents in this collection
    fields: [ # The fields for each document, usually in front matter
      {label: Title, name: title, widget: string},
      {label: Featured Image, name: image, widget: image},
      {label: Body, name: body, widget: markdown},
    ]
Now run Hugo and Decap locally with these commands in 2 parallel terminals:
npx decap-server
hugo server
Open http://localhost:1313/admin/#/ to access the CMS and click New post.
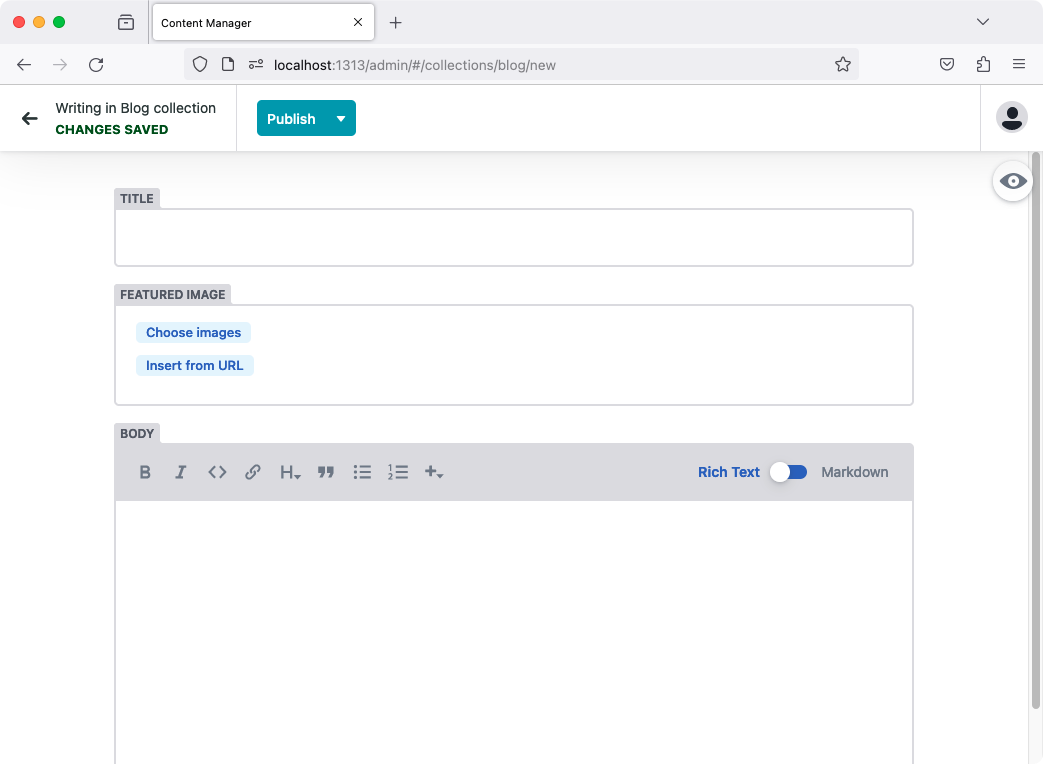
The image input will now open the Cloudinary media library widget if you click Choose an image. If you are not authenticated, you will be prompted to log in. If you get the samesite error, you can log in to Cloudinary in another tab and then refresh the CMS.
Cloudinary widget config options
Taken from the Decap CMS docs on Cloudinary library.
output_filename_only: (default:false)
By default, the value provided for a selected image is a complete URL for the asset on Cloudinary’s CDN. Settingoutput_filename_onlytotruewill instead produce just the filename (e.g.image.jpg). This should betrueif you will be directly embedding cloudinary transformation urls in page templates. Refer to Inserting Cloudinary URL in page templates.use_transformations: (default:true)
Iftrue, uses derived url when available (the url will have image transformation segments included). Has no effect ifoutput_filename_onlyis set totrue.use_secure_url: (default:true)
Controls whether anhttporhttpsURL is provided. Has no effect ifoutput_filename_onlyis set totrue.configcloud_nameapi_keymultiple- has no impact on images inside the markdown widget. Refer to media library documentation for details on this propertymax_files- has no impact on images inside the markdown widget. Refer to media library documentation for details on this propertydefault_transformations- only the first image transformation is used, be sure to use theSDK Parametercolumn transformation names from the transformation reference
# Global example
media_library:
  name: cloudinary
  output_filename_only: false
  config:
    cloud_name: your_cloud_name
    api_key: your_api_key
    multiple: true
    max_files: 3
    default_transformations:
      - - fetch_format: auto
          width: 160
          quality: auto
          crop: scale

# You can use all settings globally and per field.
# If no config is set for a field, the global config is used.

# Example field in a collection
fields:
- name: 'image'
  widget: 'image'
  media_library:
    config:
      default_transformations:
        - - fetch_format: auto
            width: 300
            quality: auto
            crop: fill
            effect: grayscale
Constructing URLs
This is where we’re looking for balance between editor control, UX simplicity, developer control, and performance. The more control we give to editors, the more we have to trust them to make the right decisions. The more we control in layouts, less options we leave to editors, but we can optimize for performance.
In general, we have three options:
- construct URLs in layout with filename only,
- allow editors to transform assets though the Cloudinary widget,
- apply default transformations and allow editors to add their own.
In layout
Set output_filename_only: true and construct the URL with tranformations in your HTML layouts. This is the safest option, but it gives editors no control over the image. The problem here is that it will not output the subfolder, so we would have to hardcode it. That is not a good idea, as an editor easily might change the folder in the media library.
To avoid that, you can also set use_transformations: false in config to omit editor-set transformations from URLs. You will then have to deconstruct the URL and add the transformations in the layout.
Through widget
This is the most flexible option, but it requires editors to know what they are doing. Nothing extra has to be set in config, as this is the default. Consider educating editors on how to apply the transformations.
how to transform assets in the widget
Apply transformations: click on an asset to open the edit screen → use advanced editing.
Edit transformations: advanced editing → view derived images → edit.
With default transformations
Decap will apply the transformation that you define in config to the chosen asset(s).
If editor adds their own transformations, they will get chained. You can also prevent editor from adding transformations by setting use_transformations: false.
Chaining is maybe the best of both worlds if you use good default transformations. I recommend using a set of general optimizers, such as c_fill,w_auto,g_auto,q_auto,dpr_auto/f_auto. This will make sure that the image is correctly cropped, resized, optimized for the viewport, and served in the best format.
Enable editors to adjust for mobile and desktop
Sometimes editors want to serve different images for mobile and desktop. We can add an optional image field for mobile (or desktop if mobile is the default) and set the default as fallback. This presents a bit more work for editors, but it’s still easy to do.
Caveats
If you change default transformations after images are added you have to go through all images and reapply the transformations. If you want to avoid that, consider adding them in the layout.
Although Cloudinary stores metadata for assets, Decap CMS only returns the URL. So if you want to use alt or title, you have to add it as a field in the collection. There are plans to add this feature eventually.
Conclusion
Decap CMS plus Cloudinary is a great combination for an editor-friendly media editing experience. Developers can control the quality and size of the images that are delivered, and give editors the amount of control that they need.
Tune in for part #2 where we will explore how to serve these URLs in the most optimal way with Hugo.